Have you ever wondered how you can achieve spotless results with minimal effort? This ultrasonic cleaning guide will introduce you to the world of ultrasonic cleaning, a technology revered by professionals and enthusiasts alike for its efficiency and precision. Imagine cleaning your delicate and intricate items without the hassle of scrubbing or harsh chemicals.
In this article, you’ll discover the fundamentals of ultrasonic cleaner usage and why it’s the go-to method for achieving impeccable cleanliness. We’ll explore the sonic cleaning technique that transforms simple sound waves into powerful cleaning bubbles, resulting in a thorough clean that leaves your items looking brand new.
But how exactly does an ultrasonic cleaner work, and what makes it so effective? Stick with us as we unravel the mysteries of this groundbreaking device, and you’ll soon see why ultrasonic cleaners are indispensable for anyone striving for unparalleled cleanliness.
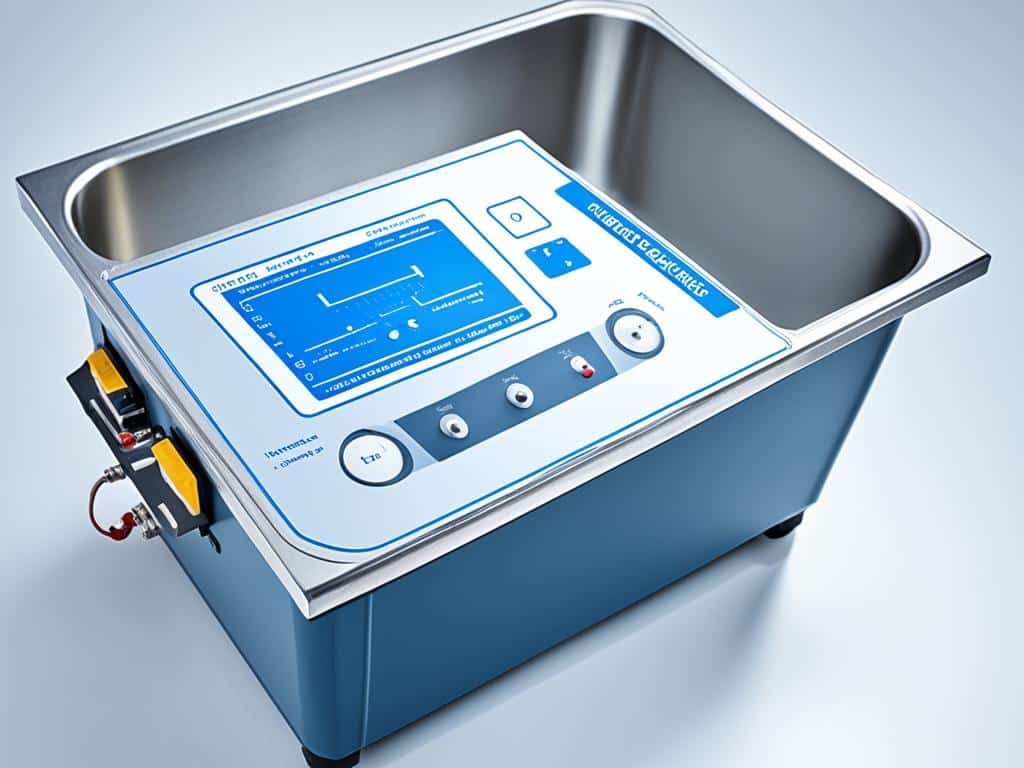
What is an Ultrasonic Cleaner?
An ultrasonic cleaner uses high-frequency sound waves to produce tiny bubbles that clean items through agitation. This phenomenon, known as cavitation, is the secret behind its powerful cleaning abilities.
Understanding the Basics
Ultrasonic cleaning technology leverages sound waves to create rapid, oscillating pressure waves in a liquid cleaning solution. These waves generate microscopic bubbles that implode, effectively removing dirt and grime from a variety of surfaces. This non-invasive method ensures thorough cleaning without damaging delicate items.
Common Uses and Applications
The applications of ultrasonic cleaners are vast. They are commonly used for cleaning jewelry, eyeglasses, dental instruments, and surgical tools because of their precision. Automotive parts, electronic components, and even household items benefit from ultrasonic cleaning technology, making it a versatile tool in both professional and home environments.
Advantages of Ultrasonic Cleaning
The benefits of sonic cleaning are numerous. This method offers unmatched cleaning precision and efficiency. It reaches intricate and hard-to-clean areas, saving you time and effort. Additionally, ultrasonic cleaning is eco-friendly as it minimizes the need for harsh chemicals.
Moreover, it’s gentle on items, reducing the risk of damage. These factors make ultrasonic cleaning a preferred choice for various applications, amplifying its value in everyday use.
| Aspect | Ultrasonic Cleaning | Traditional Cleaning |
|---|---|---|
| Precision | High | Low |
| Eco-friendliness | Yes | No |
| Time Efficiency | Fast | Slow |
| Damage Risk | Low | High |
Preparing Your Ultrasonic Cleaner
Setting up your ultrasonic cleaner is the essential first step to achieve the best cleaning results. This section will guide you through assembling the machine, choosing the right sonic cleaner solutions, and following safety precautions.
Assembling the Machine
Start by placing the ultrasonic cleaner on a stable surface. Ensure the machine is level and close to a power outlet. Connect the power cord securely and check for any loose parts. It’s important to follow the manufacturer’s instructions to avoid any setup errors.
Choosing the Right Cleaning Solution
Different items require different cleaning solutions. Use a specific sonic cleaner solution for optimal results. For jewelry, a gentle solution is ideal, while more robust cleaners are necessary for industrial parts. Always check the solution’s compatibility with the item you’re cleaning.
Safety Precautions
Ensuring ultrasonic cleaner safety is crucial. Wear protective gloves and goggles when handling cleaning solutions. Avoid overfilling the tank and ensure the lid is closed during operation. Never insert your hands or objects into the cleaner while it’s running to prevent injury.
| Step | Action | Notes |
|---|---|---|
| 1 | Place the machine on a stable surface | Ensure it’s level and near a power outlet |
| 2 | Connect power cord | Securely check for loose parts |
| 3 | Select cleaning solution | Match solution to the item being cleaned |
| 4 | Wear safety gear | Use gloves and goggles |
| 5 | Operate safely | Keep hands clear; close the lid |
How To Use Ultrasonic Cleaner: Step-by-Step Guide
Using an ultrasonic cleaner effectively can genuinely elevate your cleaning process, ensuring optimal results with minimal effort. Here, we highlight a step-by-step ultrasonic cleaning approach to get you started.

Loading Items into the Cleaner
First, ensure the items you’re cleaning are properly positioned. This means placing them in the basket, not directly on the tank’s bottom, as improper placement can reduce cleaning effectiveness. For best results, keep the items spaced out to allow sound waves to clean efficiently.
Setting the Cleaning Time
Next, it’s crucial to focus on optimizing cleaning time for different items. Delicate items might need shorter cycles, while tougher grime requires longer periods. Generally, 3-10 minutes is sufficient. Ensure you periodically monitor and adjust the time for consistent results.
Operating the Machine
Operating an ultrasonic cleaner is straightforward. Fill the tank with the appropriate cleaning solution, ensuring the items are fully submerged. Switch on the machine, and select the correct cycle. Always follow the manufacturer’s instructions for specific settings.
| Cycle Duration | Recommended Items | Notes |
|---|---|---|
| 3-5 minutes | Jewelry, Eyeglasses | Shorter cycles prevent damage |
| 5-10 minutes | Tools, Metal Parts | Longer cycles for tougher grime |
| 10-15 minutes | Industrial Components | Consider monitoring periodically |
By following this step-by-step ultrasonic cleaning guide, you can achieve exceptional cleanliness. Always remember that optimizing cleaning time and properly operating an ultrasonic cleaner are crucial for consistent and effective results.
Tips for Effective Ultrasonic Cleaning
Ultrasonic cleaning can be quite efficient if you know the right strategies. For maximizing ultrasonic cleaning effectiveness, make sure items are spaced evenly in the tank. This helps ensure even cleaning.
Avoid overloading the cleaner. Too many items can reduce the cleaning power. It’s better to clean in batches rather than all at once. When dealing with various materials, use the appropriate cleaning solution. Different materials respond differently to each cleaning solution, so this step is crucial.
To avoid cross-contamination, clean items with similar contaminants together. Mixing different contaminants could spread them. For fragile pieces, lower the ultrasonic power setting if your machine allows it. This ensures safe and effective cleaning without damage.
Consider the following tips to gain professional ultrasonic cleaning insights:
- Use distilled water to prevent mineral deposits on items.
- Pre-soak heavily soiled items to enhance cleaning results.
- Regularly replace the cleaning solution to maintain cleaning efficiency.
Here’s a quick comparison table to help you choose the right cleaning solution based on material:
| Material Type | Recommended Cleaning Solution |
|---|---|
| Metal | Alkaline Solution |
| Plastic | Neutral Solution |
| Glass | Slightly Acidic Solution |
By following these tips, you’re sure to achieve a more efficient and effective ultrasonic cleaning experience. It’s all about using the right techniques and solutions tailored to your specific needs.
Cleaning and Maintenance of Your Ultrasonic Cleaner
Maintaining an ultrasonic cleaner properly ensures its longevity and effective performance. Regular care and attention can prevent issues that might otherwise disrupt your cleaning tasks.
Regular Maintenance Tips
Start by emptying the tank and wiping it with a soft, damp cloth after each use. Replace the cleaning solution regularly to avoid residue buildup. Additionally, check the transducers periodically to ensure they’re functioning correctly.
It’s also good practice to run a descaling solution through the machine occasionally, especially if you have hard water. Finally, ensure the equipment is turned off and unplugged when not in use to prevent wear and tear.
Troubleshooting Common Issues
If you experience performance issues, it might be due to improper loading of items or incorrect solution concentration. Double-check these factors before re-running the clean cycle. If your machine stops working, inspect the power source and connections.
Regular inspection can help in resolving issues with sonic cleaners. Look for any visible damage or irregular sounds, which indicate a problem with the transducers. If the issue persists, it might be time to seek professional maintenance services.
Maintenance Routine Summary
| Task | Description | Frequency |
|---|---|---|
| Tank Cleaning | Empty tank and wipe with a soft cloth | After each use |
| Solution Replacement | Replace cleaning solution | Regularly |
| Transducer Check | Inspect for functionality | Periodically |
| Descaling | Run descaling solution | Occasionally |
| Power Source Check | Inspect connections | As needed |
By following these tips for maintaining an ultrasonic cleaner, you can ensure its optimal performance and extend its lifespan, enabling efficient and hassle-free cleaning sessions.
Conclusion
You’ve taken a thorough journey through the essentials of ultrasonic cleaning, from understanding the technology to mastering its usage. Ultrasonic cleaners offer an incredible way to achieve precision cleaning without the hassle. This guide has detailed every step, making it easy for you to start using this fantastic device.
We’ve explored the basics of ultrasonic cleaners, highlighted their diverse applications, and underscored the significant benefits. You’ve learned how to set up your machine properly, select the right cleaning solutions, and operate it for optimal results. These insights are tailored to help you maximize the effectiveness of your ultrasonic cleaner.
Regular maintenance ensures longevity and efficiency, and knowing how to troubleshoot common issues keeps your cleaner in top condition. The tips shared aim to make your cleaning process as seamless and effective as possible. With these final thoughts on ultrasonic cleaning, you’re well-equipped to achieve the best results and keep your items impeccably clean.