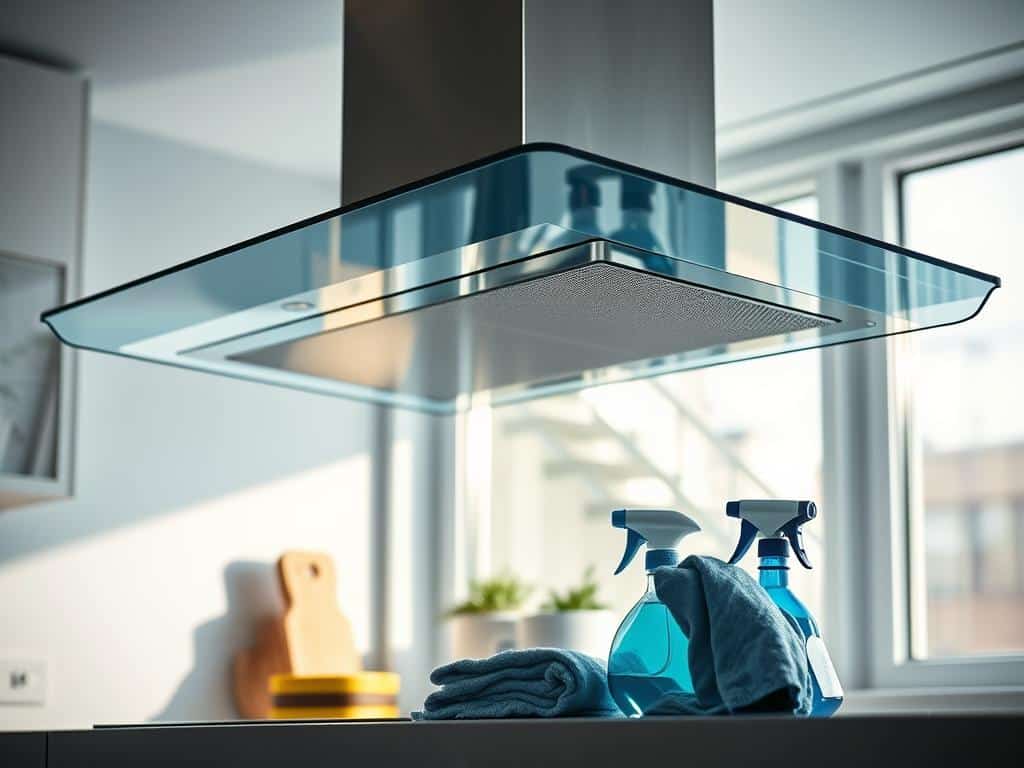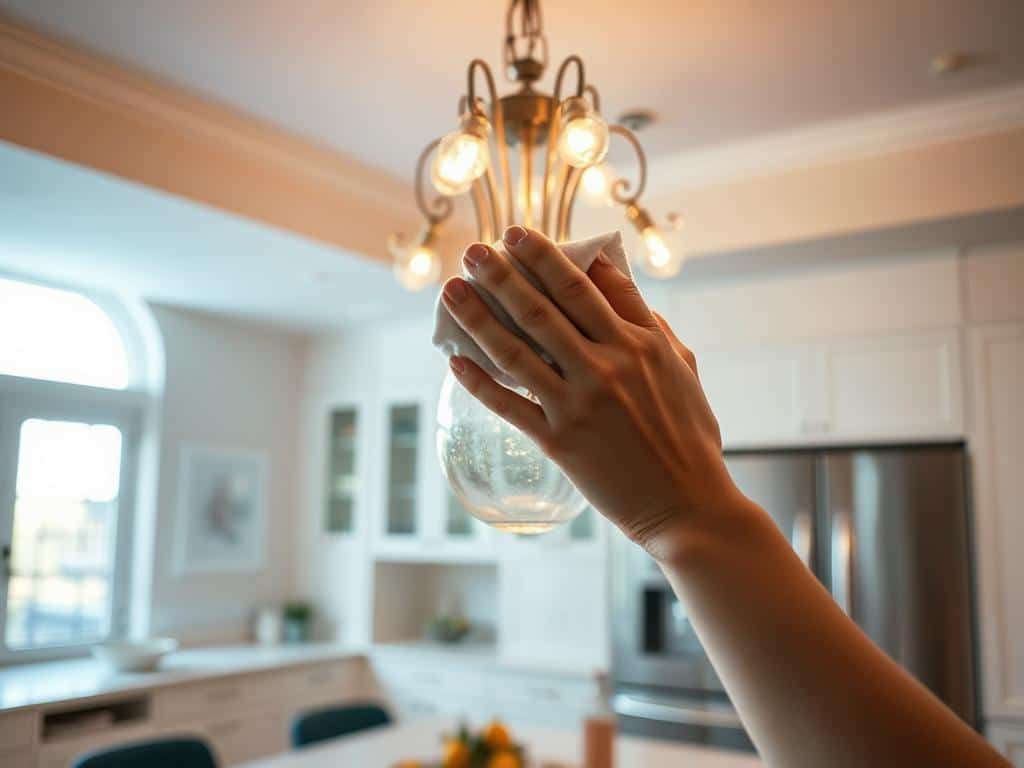
Maintaining a bright kitchen ambiance requires regular attention to your light fixtures. Over time, dust and grime can accumulate, diminishing your kitchen’s illumination by up to 30%. This guide on easy light fixture cleaning will help you keep your kitchen sparkling and inviting. By incorporating simple, routine cleaning practices, such as dusting weekly and performing thorough cleanings twice a year, you can ensure your light fixtures not only look great but also last longer.
Whether you’re dealing with chandeliers, pendant lights, or recessed lighting, we’ve got practical tips for you. By using recommended cleaning supplies like an extendable electrostatic duster, microfiber cloths, and mild dish soap, you’ll find that kitchen lighting maintenance can be simple and effective. Our step-by-step guide will walk you through the process of achieving sparkling light fixtures, enhancing the warmth and appeal of your kitchen.
Understanding and implementing these easy light fixture cleaning techniques will not only brighten your home but also make your kitchen a more pleasant place to spend time in. Dive into this comprehensive guide and discover how straightforward it can be to maintain and revitalize the lighting in your kitchen.
Essential Tools for Cleaning Kitchen Light Fixtures
To maintain the elegance and functionality of your kitchen light fixtures, having the right tools is essential. Proper cleaning helps enhance the appearance of light fixtures, ensuring a brighter and more welcoming ambiance. This guide covers several indispensable tools and supplies for effectively cleaning light fixtures, including microfiber cloths, protective gloves, and homemade cleaning solutions.
Microfiber Cloths and Dusters
High-quality microfiber cloths are among the key light fixture cleaning essentials. These cloths are perfect for dusting without scratching the surfaces, and they are gentle enough for regular use on various types of light fixtures. Microfiber dusters are also recommended as they can reach and clean intricate parts, particularly in chandeliers and pendant lights, ensuring a thorough cleaning.
Gloves and Safety Equipment
Protective gloves are a significant part of your cleaning arsenal to prevent smudging light fixtures with fingerprints. They also ensure your safety when handling delicate components. Safety equipment like protective goggles might also be necessary, especially when working with cleaning solutions or reaching high areas to avoid any potential accidents.
Cleaning Solutions: Water, Vinegar, and Mild Dish Soap
Effective homemade cleaning solutions are cost-efficient and reliable for light fixture care. A mixture of water and white vinegar is excellent for removing grime and maintaining a streak-free shine. Mild dish soap combined with distilled water can tackle stubborn dirt without damaging the fixtures. Always ensure you use gentle solutions to avoid harming the finishes.
| Cleaning Method | Cost |
|---|---|
| Remove the glass pendant and use dish soap and water | $ |
| Glass cleaner and newspaper | $$ |
| Water and a glass polishing cloth | $$ |
| Water and vinegar | $ |
| Vinegar and baking soda paste for grease | $ |
| Rubbing alcohol, water, and vinegar | $ |
| Use a natural, plant-based cleaner and a paper towel | $$ |
Using these light fixture cleaning essentials ensures that your fixtures remain in pristine condition while providing optimal light output. Selecting the right tools and solutions not only preserves the luster of your fixtures but also extends their lifespan, maintaining the quality and ambiance of your kitchen.
Safety First: Preparing to Clean Your Light Fixtures
Ensuring the safety of your home and yourself is paramount when cleaning light fixtures. Taking proper precautions can significantly reduce the risk of accidents and ensure an efficient cleaning process.
Turning Off Electricity
Before beginning any cleaning task, prioritize electrical hazard prevention by switching off the power supply to your light fixtures. This step is crucial in avoiding potential electrical shocks or hazards. Locate your electrical panel and turn off the circuit breaker that supplies power to the kitchen lights.
Cooling Down Light Bulbs
Fixture cooling is another critical safety measure. Ensure your light bulbs have cooled down completely before handling them. Hot bulbs can break or burst unexpectedly, posing a burn risk and further complicating the cleaning process. Allow approximately 15 minutes for bulbs to cool after turning off the electricity.
Setting Up a Safe Working Environment
Creating a secure cleaning environment involves using stable and reliable tools. Set up a sturdy ladder to reach high fixtures, and use safety gloves to protect your hands from dust and cleaning solutions. Additionally, having a cleaning buddy can enhance light cleaning safety by providing assistance and support when dealing with heavier or more delicate fixtures.
Comprehensive preparation is the foundation of safe and effective fixture cleaning, ensuring a thorough yet hazard-free process every time.
Cleaning Kitchen Light Fixtures
When it comes to kitchen light fixture care, maintaining clean and efficient fixtures is essential for both aesthetics and functionality. Regular cleaning not only ensures sparkling kitchen lights but also extends the life of your fixtures.
Start by dusting the fixtures every few weeks to keep them dust-free. A microfiber cloth is ideal for this task, as it effectively removes dust without scratching surfaces. Avoid using abrasive cleaners or window cleaning fluids on glass fixtures; instead, rely on a mixture of water and vinegar or mild dish soap for efficient fixture cleaning.
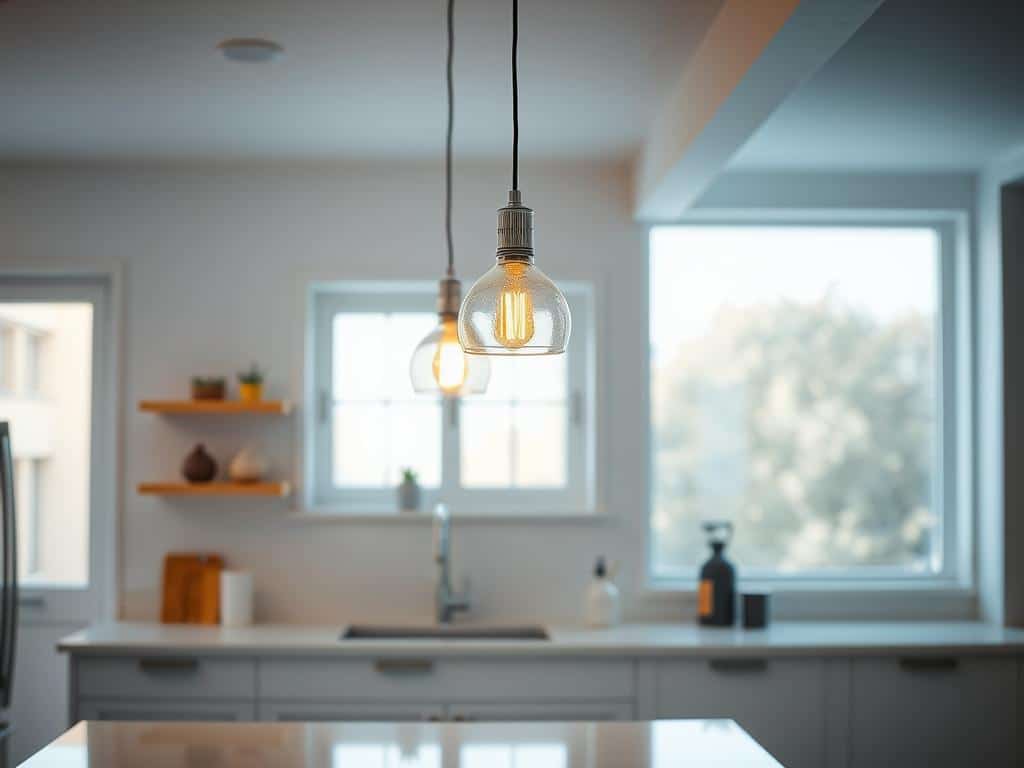
For more thorough cleaning, consider removing the light fixtures. Clean glass globes and shades once a month using a damp microfiber cloth. This prevents the build-up of grime that can cause your kitchen lights to be up to 30% dimmer. Polished metal fixtures should be treated with plain water or mild detergent soap, followed by a non-abrasive paste or liquid wax to maintain their shine.
Here’s a detailed table summarizing key cleaning methods for different fixture materials:
| Fixture Material | Cleaning Method |
|---|---|
| Glass | Wipe with damp microfiber cloth. Avoid abrasive cleaners. |
| Polished Metal | Use mild detergent soap and non-abrasive wax. Steer clear of ammonia-based products. |
| Painted | Clean with a dry, soft cloth. Use mild detergent if necessary, avoid rough textures. |
When cleaning without removing the fixtures, long-handled dusters or vacuum cleaner attachments with soft brush heads can be effective alternatives. Remember, regular kitchen light fixture care not only results in sparkling kitchen lights but also ensures optimal lighting and fixture longevity.
Step-by-Step Guide to Clean Chandeliers and Pendant Lights
Cleaning your chandeliers and pendant lights can be a straightforward task if you follow the right techniques. Here is a step-by-step guide to help you maintain the elegance and functionality of your light fixtures.
Disassembling and Dusting Light Fixtures
First, ensure you turn off the power supply and allow the bulbs to cool down to avoid any risk of burns or electric shocks. Carefully disassemble your chandelier or pendant lights. To make the light fixture reassembly process easier, take detailed photos of the setup before you start. Lay a blanket or soft material underneath to catch any parts that might fall during the process. Dust each part gently using a microfiber cloth to prevent scratching the surfaces.
Using Vinegar Solution for Cleaning
Mix one part white vinegar with three parts water to create a reliable and gentle cleaning solution. This vinegar cleaning solution is especially effective for chandelier cleaning techniques. Soak a microfiber cloth in the mixture and clean each piece of the chandelier or pendant light thoroughly. Avoid harsh chemicals as they can damage the delicate components of your fixtures. Ensure each part is fully dried to prevent water spots before moving on to reassembly.
For more details on enhancing your cleaning methods, you might find this guide to cleaning a chandelier useful.
Reassembling and Ensuring Proper Installation
Once all the parts are cleaned and dried, refer to the photos you took earlier to assist with the light fixture reassembly. Securely fit all parts back together to preserve the aesthetic and functional integrity of your fixtures. For pendant light maintenance, it’s crucial to ensure that all screws and fasteners are tightened properly to avoid any loose or dangling parts. If your chandelier features removable crystals, handle them carefully to avoid chipping or cracking during the process.
Maintaining the condition of your kitchen light fixtures can prolong their life and keep your space looking its best. Regular maintenance, such as monthly dusting and deeper cleaning every six months, will ensure that your lights continue to provide a bright and clear illumination.
How to Maintain and Clean Recessed Lighting in Your Kitchen
Recessed lighting upkeep in your kitchen not only keeps your space well-lit but also extends the lifespan of your light fixtures. Maintaining recessed lights involves a few careful steps to ensure effective and safe light fixture maintenance. Below, we outline the detailed process for removing, cleaning, and reattaching the baffles for optimal performance.
Removing and Cleaning Baffles
Begin your baffle cleaning process by ensuring the power supply is turned off to avoid any electrical hazards. Gently remove the light bulb and release the baffle from the ceiling fixture. It’s advisable to turn off the power beforehand as a crucial safety precaution. Using a damp microfiber cloth, wipe the dirt and dust from the baffle and inner housing, which helps retain the brilliance and efficiency of the lighting. For more efficient cleaning, mix distilled white vinegar with water in a spray bottle and use this solution to tackle any stubborn grime.
Ensuring Thorough Drying Before Reattachment
Once the baffle cleaning is completed, it is essential to ensure every part undergoes a thorough light fixture drying process. Place the cleaned baffle on a dry towel and allow it to air dry completely to prevent moisture buildup, which can lead to potential damage. After confirming that all components are dry, reattach the baffle securely back to the ceiling fixture and screw in the light bulb. Regularly performing this safe light fixture maintenance routine will significantly prolong the functionality and aesthetics of your recessed lighting.
Regular dusting and maintenance practices can help minimize the need for deep cleaning sessions, keeping your kitchen recessed lights bright and clear. Experts recommend twice-a-year deep cleaning for optimal recessed lighting upkeep.
Conclusion
In conclusion, maintaining kitchen light fixtures is a straightforward yet vital task that significantly enhances your home’s ambiance. From regular maintenance to deep cleaning sessions, understanding the different types of light fixtures and their specific cleaning needs ensures that your kitchen remains bright and welcoming. Regularly cleaning kitchen light fixtures not only keeps them free from dirt and grime but also helps in maintaining energy efficiency and preventing potential hazards.
A thorough light fixture cleaning recap reveals that using eco-friendly solutions like vinegar and soapy water can be just as effective as commercial cleaners while also being safer for you and environmentally friendly. Cleaning glass pendant lights, for instance, should be done at least once a week to minimize dirt accumulation and ensure a deep clean at least once a year. Employing safety measures, such as wearing rubber gloves and turning off the power, is paramount during the cleaning process to protect both your skin and home.
In your kitchen lighting upkeep summary, it is crucial to emphasize regular inspections to detect any broken wires or issues early, thus avoiding any safety hazards. The diverse finishes and designs of light fixtures, ranging from black and gold to chandeliers with sensitive materials like crystals, necessitate different cleaning methods. Whether it’s removing grease with mild dish soap or handling delicate chandeliers with utmost care, these steps ensure your light fixtures continue to shine brightly and add to the aesthetic appeal of your kitchen. With consistent effort and attention to detail, maintaining bright kitchens becomes an achievable and rewarding endeavor.

