Diesel fuel tanks are a critical component in any diesel-powered vehicle or machinery, acting as the storage reservoir for the fuel that powers the engine. Over time, these tanks can accumulate contaminants such as dirt, rust, and algae, which can lead to clogged fuel filters, reduced engine efficiency, and even costly damage if left unchecked. Cleaning a diesel fuel tank is not an everyday task for most vehicle owners, but it’s an essential bit of maintenance know-how that can save money and extend the life of your engine. The quality of diesel fuel has significantly improved over the years, yet still, impurities and moisture can find their way into tanks, highlighting the importance of routine cleaning as a preventive measure against potential fuel system failures.
In the forthcoming sections, we will delve into the step-by-step process of cleaning a diesel fuel tank, starting with the safe removal of remaining fuel and leading up to the tactics for effectively removing and preventing the buildup of contaminants. Whether you’re a DIY enthusiast or a professional mechanic, the insights and tips to come will equip you with the knowledge to perform this task with confidence. We’ll explore not only the practical methods but also the safety precautions necessary to ensure a successful clean-out. Stay tuned as we prepare to dive into the actionable techniques that will help sustain your diesel engine’s performance and reliability.
Key Takeaways
1. Before beginning the cleaning process, it is essential to prioritize safety by wearing appropriate protective gear such as gloves and glasses, and ensuring the work area is well-ventilated. Preparing the necessary tools and materials such as fuel pumps, cleaning agents, and containers for waste disposal is also crucial.
2. The first step in cleaning a diesel fuel tank involves draining all the fuel. This can be done by using a pump or siphoning the fuel out. Once drained, visually inspect the interior for sediment and sludge build-up which can indicate the level of cleaning required.
3. After draining and inspecting the tank, the next step involves manual cleaning to remove sludge, rust, and debris. This might entail physically entering the tank (if size permits), scraping off the contaminants, and using specific cleaning agents designed for breaking down diesel residue.
4. Thoroughly rinse the interior of the tank with a suitable solvent or detergent mixed with water to flush out any lingering debris and cleaning agent residue. Multiple rinses might be necessary to ensure that the tank is completely clean.
5. After the tank is washed and rinsed, it’s critical to dry the tank completely to prevent moisture from contaminating the fuel system. This can be done using air blowers or letting the tank air-dry in an environment free of dust and debris. Once dry, the tank can be refilled with fuel and reattached to the system.
What Are the Steps to Thoroughly Clean Your Diesel Fuel Tank at Home?
Gathering Necessary Tools and Materials
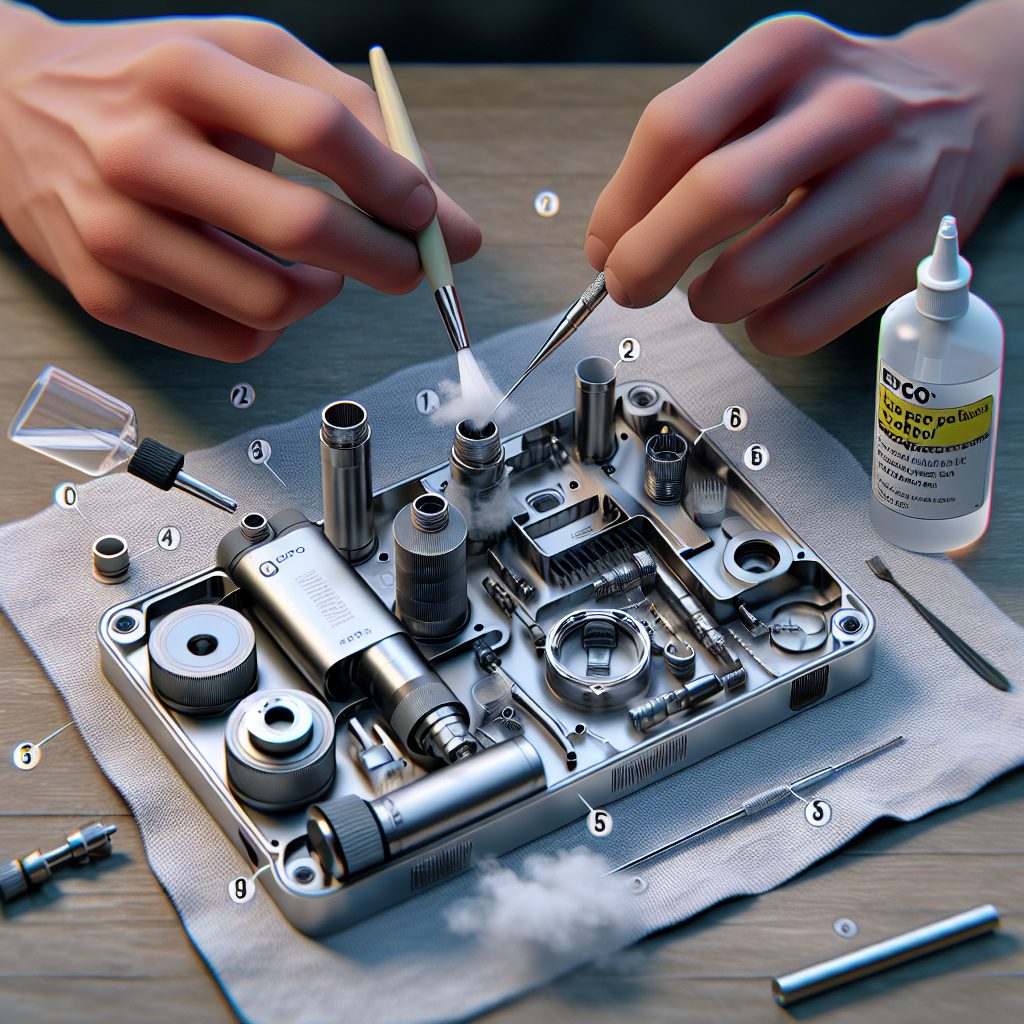
Before diving into the cleaning process, it’s essential to have all the tools and materials ready. You will need a fuel transfer pump to empty the tank, a non-abrasive cleaning detergent, a large container to collect the diesel fuel, protective gloves, eyewear, a face mask, a non-metallic scraper, a soft cloth, and a high-pressure hose. Ensure all equipment is suitable for use with diesel to avoid reactions that could compromise your safety or the integrity of the tank.
Draining the Diesel Fuel
Start by safely emptying the diesel fuel tank. Use the transfer pump to remove the fuel, transferring it to a holding container. It’s important to conduct this step in a well-ventilated area and away from any ignition sources for safety reasons. Dispose of or recycle the old fuel according to local regulations.
Inspection for Sludge and Debris
After draining, inspect the interior of the tank for any signs of sludge, sediment, or debris buildup. Use a flashlight to illuminate the tank’s interior if necessary. Identifying the areas that require special attention is critical for a thorough cleaning.
Cleaning the Interior Surfaces
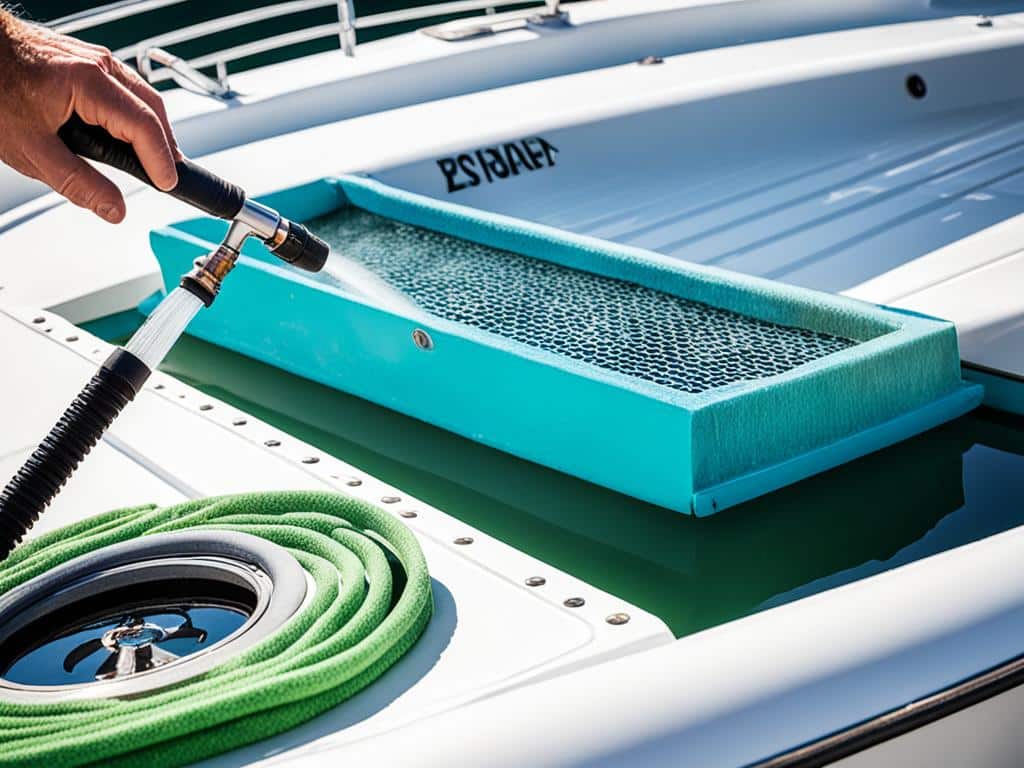
Using a non-metallic scraper, gently remove any buildup from the tank’s walls. Taking care not to scratch the tank’s surface is important. Once you’ve manually removed as much sediment as possible, wash the interior with a non-abrasive detergent and use the high-pressure hose to rinse the detergent and loosened debris away. A soft cloth can be effective for wiping the surfaces clean.
Drying the Tank
Completely drying the tank is vital to avoid moisture-related issues. You can leave it to air dry in a well-ventilated area, or use a clean, absorbent cloth to dab away any excess moisture. Some also recommend using a hairdryer or a shop vac in blower mode to expedite the process, ensuring the tank is absolutely dry before the next step.
Reassembling and Refilling the Tank
Once the tank is dry, you can begin reassembling any parts that were removed, such as the fuel pump or sending unit. Make sure all connections are secure and gaskets are properly in place to prevent leaks. After reassembly, consider adding a fuel stabilizer before refilling the tank with fresh diesel to help keep it clean longer.
Disposing of Waste Responsibly
Remember, the waste you’ve collected, including old diesel and cleaning cloths, can be harmful to the environment. Make sure to dispose of all waste properly by following local hazardous waste disposal guidelines.
Troubleshooting Common Issues After Cleaning
After you’ve cleaned your diesel fuel tank, you might encounter issues like erratic engine performance or unusual noises. These could indicate trapped air within the system or debris stuck in fuel lines. Run the engine for a short period and observe if the issues persist. If they do, further investigation and possibly a professional’s help may be necessary.
Maintaining a Clean Fuel Tank
Maintain your clean diesel fuel tank by using high-quality fuel, regularly checking for water contamination, and adding fuel additives designed to clean and lubricate your engine. This proactive approach can help extend the intervals between deep cleaning and ensure your diesel engine runs efficiently.
How Can You Ensure Longevity of Your Cleaned Diesel Fuel Tank?
- Regularly inspect the tank for water and contaminants.
- Use quality diesel fuel and consider integrating fuel additives that inhibit growth of microorganisms.
- Check fuel filters and replace them accordingly to keep the tank clean from any incoming impurities.
- Monitor your vehicle’s performance closely to identify early signs of fuel tank issues.
- Stick to a regular maintenance schedule, including professional inspections as recommended by your vehicle’s manufacturer.
What safety precautions should I take before cleaning a diesel fuel tank?
Before attempting to clean a diesel fuel tank, ensure you are in a well-ventilated area and have turned off all ignition sources to reduce the risk of fire. Use protective gear such as goggles, gloves, and a respirator mask to protect yourself from harmful fumes.
Can I clean a diesel fuel tank without removing it from the vehicle?
It is possible to clean a diesel fuel tank without removing it from the vehicle, but it is not recommended as it may not be thoroughly cleaned. Removing the tank allows for a more comprehensive cleaning and inspection for any damage.
What cleaning solutions are safe for use on diesel fuel tanks?
Commercial diesel fuel tank cleaners are available and are formulated to be safe for use. You can also use a mixture of dish soap and hot water for a mild clean. Avoid using corrosive substances that could damage the tank.
How often should I clean my diesel fuel tank?
It is advisable to clean your diesel fuel tank every year or every few years, depending on usage and fuel quality. Regular cleaning can prevent buildup of contaminants and ensure the longevity of your fuel system.
Is it necessary to neutralize the tank after cleaning?
After cleaning with certain detergents or solvents, it may be necessary to neutralize the tank to prevent corrosion. Rinse the tank thoroughly with water and, if required, a neutralizing agent.
What is the best way to dry the tank after cleaning?
Once the tank has been cleaned, it should be dried completely to prevent rust and contamination. Use compressed air to blow out any remaining water or let it air dry in a well-ventilated location away from direct sunlight.
What should I do with the old fuel removed from the tank?
Dispose of the old fuel in accordance with local regulations. It should not be re-used as it may contain contaminants. Contact your local waste management service for proper disposal methods.
Can particles in the diesel fuel cause damage if not cleaned?
Yes, particles in diesel fuel can clog filters, injectors, and damage the fuel pump if not addressed. Regular cleaning of the fuel tank helps to ensure these particles do not cause harm to your engine.
Do I need any special tools to clean a diesel fuel tank?
Some basic tools are necessary, such as a wrench set for removing the tank and fuel lines, a siphon or pump for removing the fuel, and brushes or cleaning implements specifically designed for fuel tanks.
How can I ensure that all debris is removed during cleaning?
After the initial cleaning with solvents or detergents, use a clean rag to wipe down the inside of the tank. Inspect the interior visually or with a camera to make sure all debris is removed. A second rinse may be required to ensure thorough cleaning.
Final Thoughts on DIY Diesel Fuel Tank Cleaning
Cleaning a diesel fuel tank can seem like a daunting task, but with the right tools and knowledge, it can be a gratifying DIY project. Not only does this maintenance contribute to the efficiency and longevity of your vehicle’s engine, but it also encourages a proactive approach to vehicle care. It’s essential to approach the cleaning process with caution, paying close attention to safety and environmental concerns. With diligence and regular care, cleaning your diesel fuel tank can be seamlessly integrated into your vehicle maintenance routine, ensuring smooth operation and helping to avoid costly repairs in the future.
Remember that while DIY projects can be empowering, they also come with responsibility. Always prioritize safety, follow guidelines, and take the time to do the job thoroughly. By doing so, you’ll gain not only a clean fuel tank but also the knowledge and satisfaction that come with mastering another aspect of vehicle maintenance. Whether you’re a seasoned DIY enthusiast or a newcomer to the realm of automotive care, cleaning your diesel fuel tank is a task that can be accomplished with patience, attention to detail, and respect for the process.


