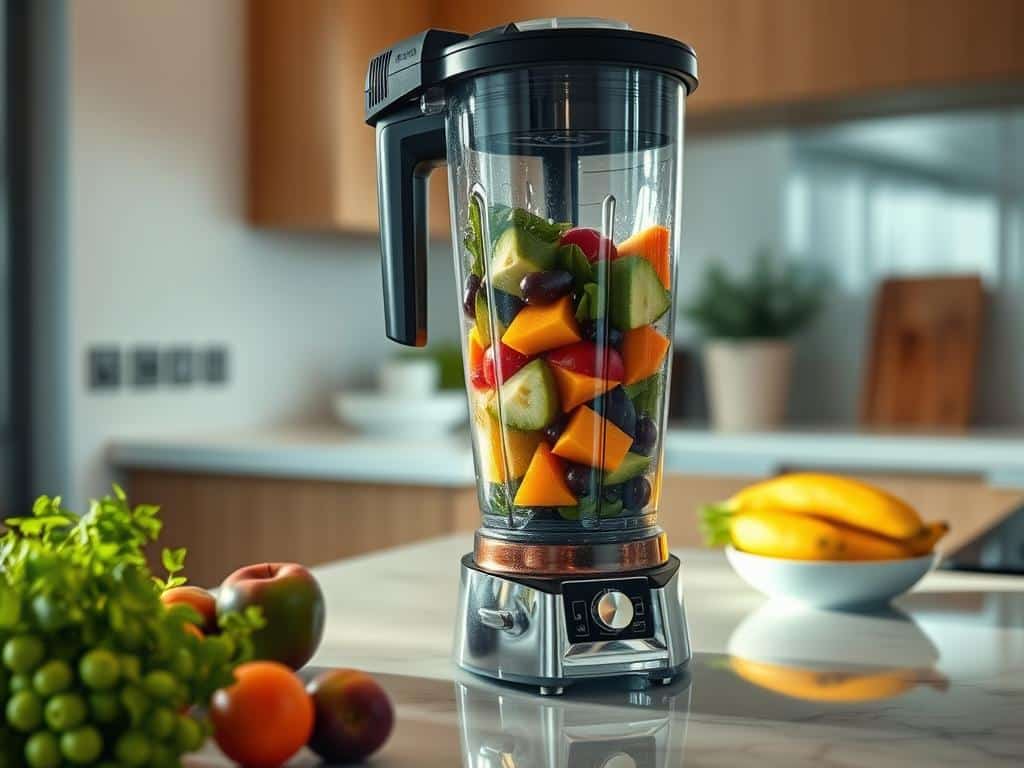
Maintaining the cleanliness of your blender is crucial for ensuring its longevity and performance. Brands like KitchenAid may come with self-cleaning cycles that simplify the task, employing the pulse function coupled with high-speed blending to break free any sticky bits. When you approach blender maintenance, it is essential to take caution, especially around sharp blades, and always unplug the appliance first to ensure your safety.
Blenders not only assist in making smoothies but also enable you to whip up dressings, sauces, and even desserts with ease. Using the blender’s motor for cleaning involves filling the blender halfway with hot water, adding dish soap, and running it on high for one to two minutes, making it a quick and effective cleaning hack. By adopting these cleaning hacks, you can keep your kitchen appliance ready for creating various dishes from scratch, ensuring that it doesn’t harbor any food residue or unpleasant smells. Proper cleaning can prevent your blender from becoming a tedious chore and instead, let it take center stage in your culinary adventures.
Why It’s Important to Keep Your Blender Clean
Maintaining blender hygiene is crucial for several reasons that extend beyond merely having a clean appliance on your countertop. One of the most important aspects of regular cleaning is ensuring food safety. Any leftover particles or unclean surfaces inside the blender can lead to bacterial growth, which poses health risks and can affect the flavor of your delicious creations.
Another vital factor is appliance efficiency. Regular cleaning prevents build-up that could hinder performance and durability. For instance, cleaning the base of the blender with an all-purpose cleaner and a soft cloth can help maintain its functionality. Plan for 1 to 2 minutes for cleaning after less-intensive blending tasks, and up to 5 minutes for heavy-duty jobs.
Daily use often leads to stubborn stains and odors, especially when using dark-colored foods like berries and turmeric. You can remove these stains by scrubbing with lemon juice and baking soda, or opt for a solution of vinegar and baking soda. Moreover, to eliminate odors, blend cut-up lemon with water. Such practices not only keep your blender clean but also ensure that every batch of food is fresh.
Furthermore, keeping your blender clean adds to the aesthetic appeal of your kitchen. A pristine appliance not only looks good but also performs optimally. According to Melissa Maker’s 3 Wave Cleaning System, scraping gooey purees with a long, narrow silicone spatula and using a bottle brush around and under the blades are highly effective techniques. This comprehensive approach ensures your blender is in its best shape and ready for your next culinary venture.
Lastly, regular cleaning can prevent accidents, as 20% of users highlight the need to handle blender blades with care due to their sharpness. Therefore, integrating these practices into your routine will keep your blender running smoothly and safely, enhancing its lifespan and your culinary experiences.
Step-by-Step Guide to Basic Blender Cleaning
Maintaining the cleanliness of your blender can significantly extend its lifespan and ensure it operates efficiently. Follow these straightforward steps for effective basic cleaning.
Step 1: Take the Blender Apart
Begin your blender disassembly by carefully removing the jar from the base. Ensure the appliance is unplugged to prevent any accidents. Next, take off the lid and detach any other removable parts such as the blades, gaskets, and tamper. This disassembly allows for a more thorough cleaning.
Step 2: Clean the Blender Base
For base cleaning, use a warm, damp cloth to wipe down the blender base, removing any spills or food residue. Pay attention to buttons and controls but be cautious not to let moisture seep into electrical components. This simple step helps maintain the appearance and function of your blender.
Step 3: Prepare to Clean the Blender Jar
Fill the blender jar halfway with warm water and add a few drops of dish soap. This preparation is crucial for effective cleaning. If available, use your blender’s self-cleaning program, which helps easily dislodge food particles and residues.
Step 4: Blend on High Speed
Once filled with soapy water, place the jar back onto the base and blend on high speed for up to 20 seconds. This high-speed blend agitates the soap and water, effectively cleaning the jar and blades. For tougher residues, consider using a mixture of white vinegar and warm water or a baking soda paste.
Step 5: Rinse the Blender Jar
After blending, dispose of the soapy water and rinse the blender jar thoroughly. Ensure no soap traces remain, as any leftover soap can affect the taste of your next blend. If your jar is dishwasher-safe, consult the manufacturer’s instructions to check if it’s safe to place the jar in the dishwasher.
These steps ensure that your blender remains in top condition. For a comprehensive cleaning guide, read more on how to clean a blender effectively.
How to Deep Clean and Sanitize Your Blender
Keeping your blender clean is paramount to maintaining its efficiency and ensuring safe food preparation. Deep cleaning techniques, as emphasized by experts, can effectively tackle hidden residues and mitigate potential health risks such as mold development.
Using Vinegar
For blender sanitization, one of the most recommended deep cleaning techniques involves the use of white vinegar. Leanne Stapf from The Cleaning Authority recommends deep cleaning the blender every few weeks if used regularly. Start by filling the blender jar halfway with a mixture of hot water and white vinegar. Blend on high for about 30 seconds, then rinse thoroughly. This method can help eliminate stubborn residues and ensure your blender maintenance routine is effective.
Using Baking Soda
Another efficient method for deep cleaning and maintaining your blender involves the use of baking soda. Tonya Harris suggests combining baking soda with warm water to eliminate lingering odors and persistent stains. Fill the blender halfway with warm water and add a teaspoon of baking soda. Blend for 20-30 seconds, ensuring that the mixture reaches every corner of the jar. Rinse thoroughly and dry all parts carefully before reassembly. This technique not only helps in blender sanitization but also in overall blender maintenance.
Comparing the effectiveness of these methods, the combination of baking soda and warm water is particularly proficient in neutralizing odors, while white vinegar is excellent for tackling tough, organic residues.
| Cleaning Method | Ingredients | Effectiveness |
|---|---|---|
| Vinegar Cleaning | Hot water, white vinegar | Excellent for removing residues and sanitizing |
| Baking Soda Cleaning | Warm water, baking soda | Great for eliminating odors and stains |
The Best Way to Clean a Blender
For efficient blender cleaning, the most reliable method involves a combination of warm water and a small amount of dish soap. This tried-and-true technique ensures a thorough clean without unnecessary hassle. Immediately after using your blender, fill the jar halfway with warm water and add a few drops of dish soap. Blend this mixture on high speed for about 30 seconds to dislodge any food residue from the carafe and lid.
For daily tasks like making smoothies or soups, this method enables easy clean-up and keeps your appliance ready for use. When dealing with heavier-duty blending, such as making nut butters or oily vinaigrettes, consider adding a few extra drops of soap to cut through the fats effectively. Additionally, Vitamix blenders often come with a specific cleaning setting that makes this process even simpler. This setting can be particularly useful for more intensive cleaning tasks.
If you’re a fan of kitchen hacks, plan for just 1 to 2 minutes to clean up after less-intensive blending jobs. For tougher tasks, you may need up to 5 minutes. A long, narrow silicone spatula is a handy tool for scraping out the remains of pasty purees. For persistent stains in the pitcher, soaking it in a mixture of water and white vinegar can be very effective. Blending a cut-up lemon with water is another great trick to eliminate any lingering odors, leaving your blender jar smelling fresh.
The bottom line is to clean your blender immediately after use, as this prevents food residue from drying and becoming more difficult to remove. This strategy not only saves time and effort but also enhances the longevity of your blender. Avoid using hot water and dishwashers for older models, as this can damage the appliance. Remember, keeping your blender in top shape is not just about hygiene but also about maintaining performance and durability.
Tips for Cleaning Tough Residues
When dealing with stubborn stains on your blender, immediate action is crucial. Allowing residues like peanut butter, honey, or dried smoothie remains to set can create what seems like food cement, making effective cleaning a daunting task. Ensuring proper blender care means using the right methods and tools at the right time.
For hard-to-reach areas or particularly tall blender jars, a long-handled sponge can be invaluable. This tool effectively tackles residues without requiring you to reach into the blender, minimizing the risk of accidents. For sticky or dried residues that prove stubborn, consider using a non-metal scrubber. This approach avoids scratching the surface of your blender, keeping it pristine and ready for your next culinary adventure.
To boost your cleaning strategy, start by blending a mix of ¼ cup of warm water and ¼ cup of baking soda in the jar for about 15-30 seconds. This method helps to dislodge tough residues effortlessly. Following this, a rinse with warm water and soap assures thorough sanitation, preventing bacterial build-up and maintaining your blender’s hygiene.
Soaking the blender jar in a mix of water and vinegar (¾ cup vinegar to ¼ cup water) can also help lift mineral deposits that cause cloudiness, leaving your blender sparkling clean. According to experts, regularly cleaning your blender prevents build-up and makes subsequent cleaning sessions more manageable.
For a detailed guide on environmentally friendly cleaning practices, you can visit this resource.
Staying on top of regular maintenance makes the cleaning process not only easier but also faster. Adding a routine check, such as cleaning the blender base with hot, soapy water and a microfiber cloth, ensures that your blender is always in optimal condition. Keeping these tips in your cleaning arsenal ensures your blender is free from stubborn stains and ready for your next delicious creation.
Are Blender Parts Dishwasher Safe?
Determining whether your blender parts are dishwasher safe is crucial for proper kitchen appliance care and maintaining blender durability. This largely depends on the make and model of your blender. For example, KitchenAid® blenders typically have dishwasher-safe components like lids and jars, while the base must be cleaned manually. Such specifics are always highlighted in the user manual provided by the manufacturer.
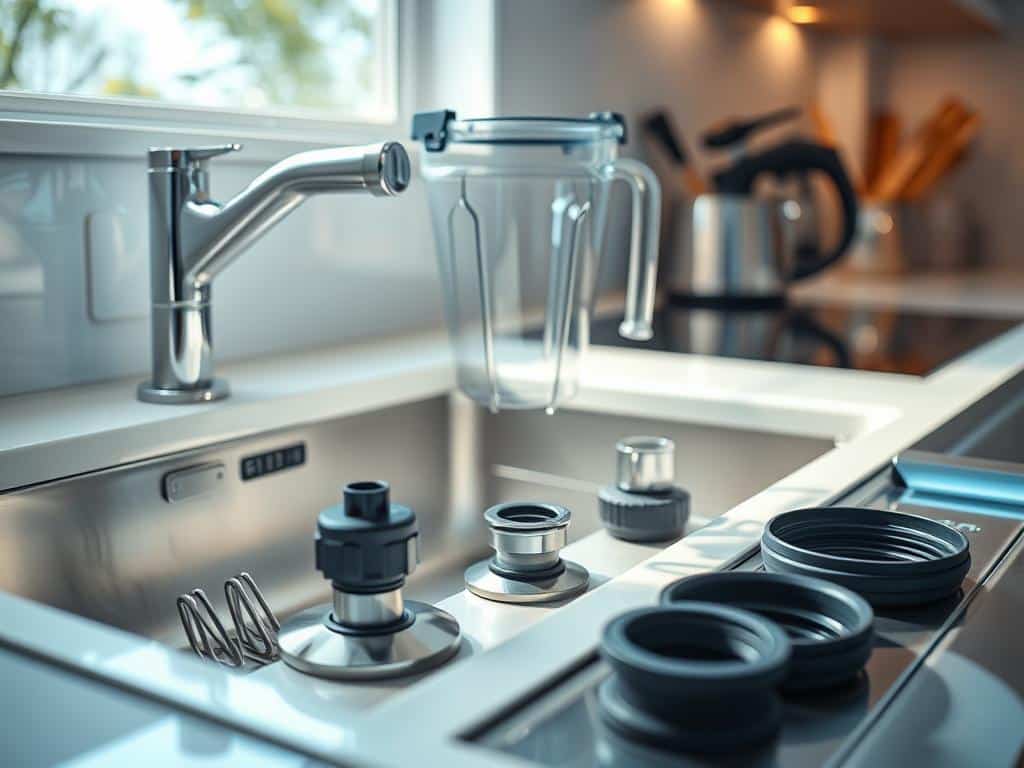
Several key points can help you understand the dishwasher safety of blender components more clearly:
- Nutribullet Parts: Nutribullet cups, lids, lip rings, and blades are all top-rack and dishwasher-safe. However, avoid using the sanitize cycle as it may warp the plastic. Regularly used blades should be replaced every six months to ensure optimal performance.
- Self-Cleaning Cycles: Some blenders feature self-cleaning cycles provided by the manufacturer, which can simplify your cleaning routine.
- Dishwasher vs. Handwash: A considerable number of blenders allow the jar to be washed in the dishwasher, while many recommend handwashing to prevent etching.
- Detachable Blades: Blenders with detachable blades can be easier to clean, as you can soak them in warm, soapy water to loosen any stuck residues.
- Cleaning Small Parts: Many users favor soaking gasket seals and cutting blades in warm, soapy water to remove buildup effectively.
- Blender Lids: In many models, blender lids can be separated into two pieces, granting better access for thorough cleaning.
- Stubborn Stains or Odors: Blending a solution of baking soda and water or using vinegar can help clean stubborn stains and eliminate odors.
Additionally, a notable percentage of users employ brushes to reach and clean hard-to-access areas within their blenders. Applying these simple strategies and understanding the dishwasher-safe components of your blender will ensure prolonged performance and durability, making your kitchen appliance care routine more efficient.
Conclusion
In the journey of blender maintenance, ensuring optimal kitchen cleanliness and appliance care cannot be overstated. A clean blender is pivotal not just for the hygiene of your kitchen but also for the longevity and efficiency of the appliance itself. From basic daily cleaning to more thorough sanitizing processes, each step is integral in maintaining your blender’s functionality.
As we examined, different blender models exhibit varied ease of cleaning. The Ninja DUO, with a score of 6.0, presents more cleaning challenges compared to models like the Blendtec Classic 575, which generally perform better in cleaning tests. Impressively, both the Breville The Q and the Blendtec Classic 575 score top marks, 9.5, on the cleaning test for sticky residues like almond butter. In contrast, the Bella Rocket Blender’s narrow jar poses significant cleaning difficulties.
Blender scores below 7.5 indicate some level of cleaning tedium, although none of the tested blenders scored below 5.5, suggesting that while some effort is required, it remains manageable. Proper appliance care extends beyond just the jar, with components like the base needing regular attention to prevent residue buildup. Whether through hand-cleaning or using natural cleaning solutions like vinegar and baking soda, diligent maintenance will ensure your blender remains an indispensable tool for creating delicious and healthy meals.

